
Rehydrating a Dehydrated San Francisco Sourdough Starter

In this post we are going to be walking through the process of rehydrating a San Francisco Sourdough starter that was purchased online
Come learn about what makes this bread extra special & super tasty!
Rehydrating a Dehydrated San Francisco Sourdough Starter
This post may contain links but they are not affiliate links. I am not in any sort of affiliate program at this time. They are links to things I actually use. All formulations shared on this blog have been formulated for personal use only, not for resale.
I don’t know about what you see online, but everywhere I look there’s sourdough & I decided that it was time I jumped onto that train instead of just waiting on the sidelines, for I’m not really sure what reason. After a failed attempt at my own starter I decided to find one that was fully established so I did what most of us do, I went to Amazon.
I really just wanted to get to baking instead of waiting for the one I was working on to come to life, spoiler alert it did, turns out I just needed to give it more time. In the future I will be walking you through the process of creating a sourdough starter from scratch.
Anyways, back to today’s post about rehydrating a dehydrated San Francisco Sourdough starter. The one I purchased on Amazon came from the company Captain Sourpants, I though it was a fun name & they seemed to have a few different varieties of sourdough starter to choose from. I figured because I still had the intention to start my own I’d choose one that would be different from my homemade one.
Since filming this tutorial the starter I choose is currently unavailable but this one should work the same. I’ll be sure to update this post when the original one I used becomes available again
What is the difference between a San Francisco sourdough & regular sourdough bread?
Sourdough bread is a type of bread that uses fermentation by naturally occurring wild yeasts & lactobacillus bacteria as the leavening agent.
San Francisco sourdough has one tiny difference & that is the presence of beneficial lactic acid bacteria called Lactobacillus Sanfraniscenseus which is what gives this type of sourdough its tangy flavor. At one point scientists believed that this particular bacteria was only found in the San Francisco bay area, but we’ve come to learn that this bacteria is actually found in many places all over the world.
Where it gets interesting is when we start to think of the climate in San Francisco we start to realize this part of the world has its own type of microclimate with cool temperature & frequent fog which also will play a role in the microbial community present in the sourdough starter. This microclimate may be the very reason for the unique strains of wild yeast & lactic acids found in this type of sourdough
I’m going to be sharing the exact steps as per the package instructions on how to reactivate this starter.
There are a few things to keep in consideration before starting the reactivation process.
It can take 2-3 days before you start to notice any activity.
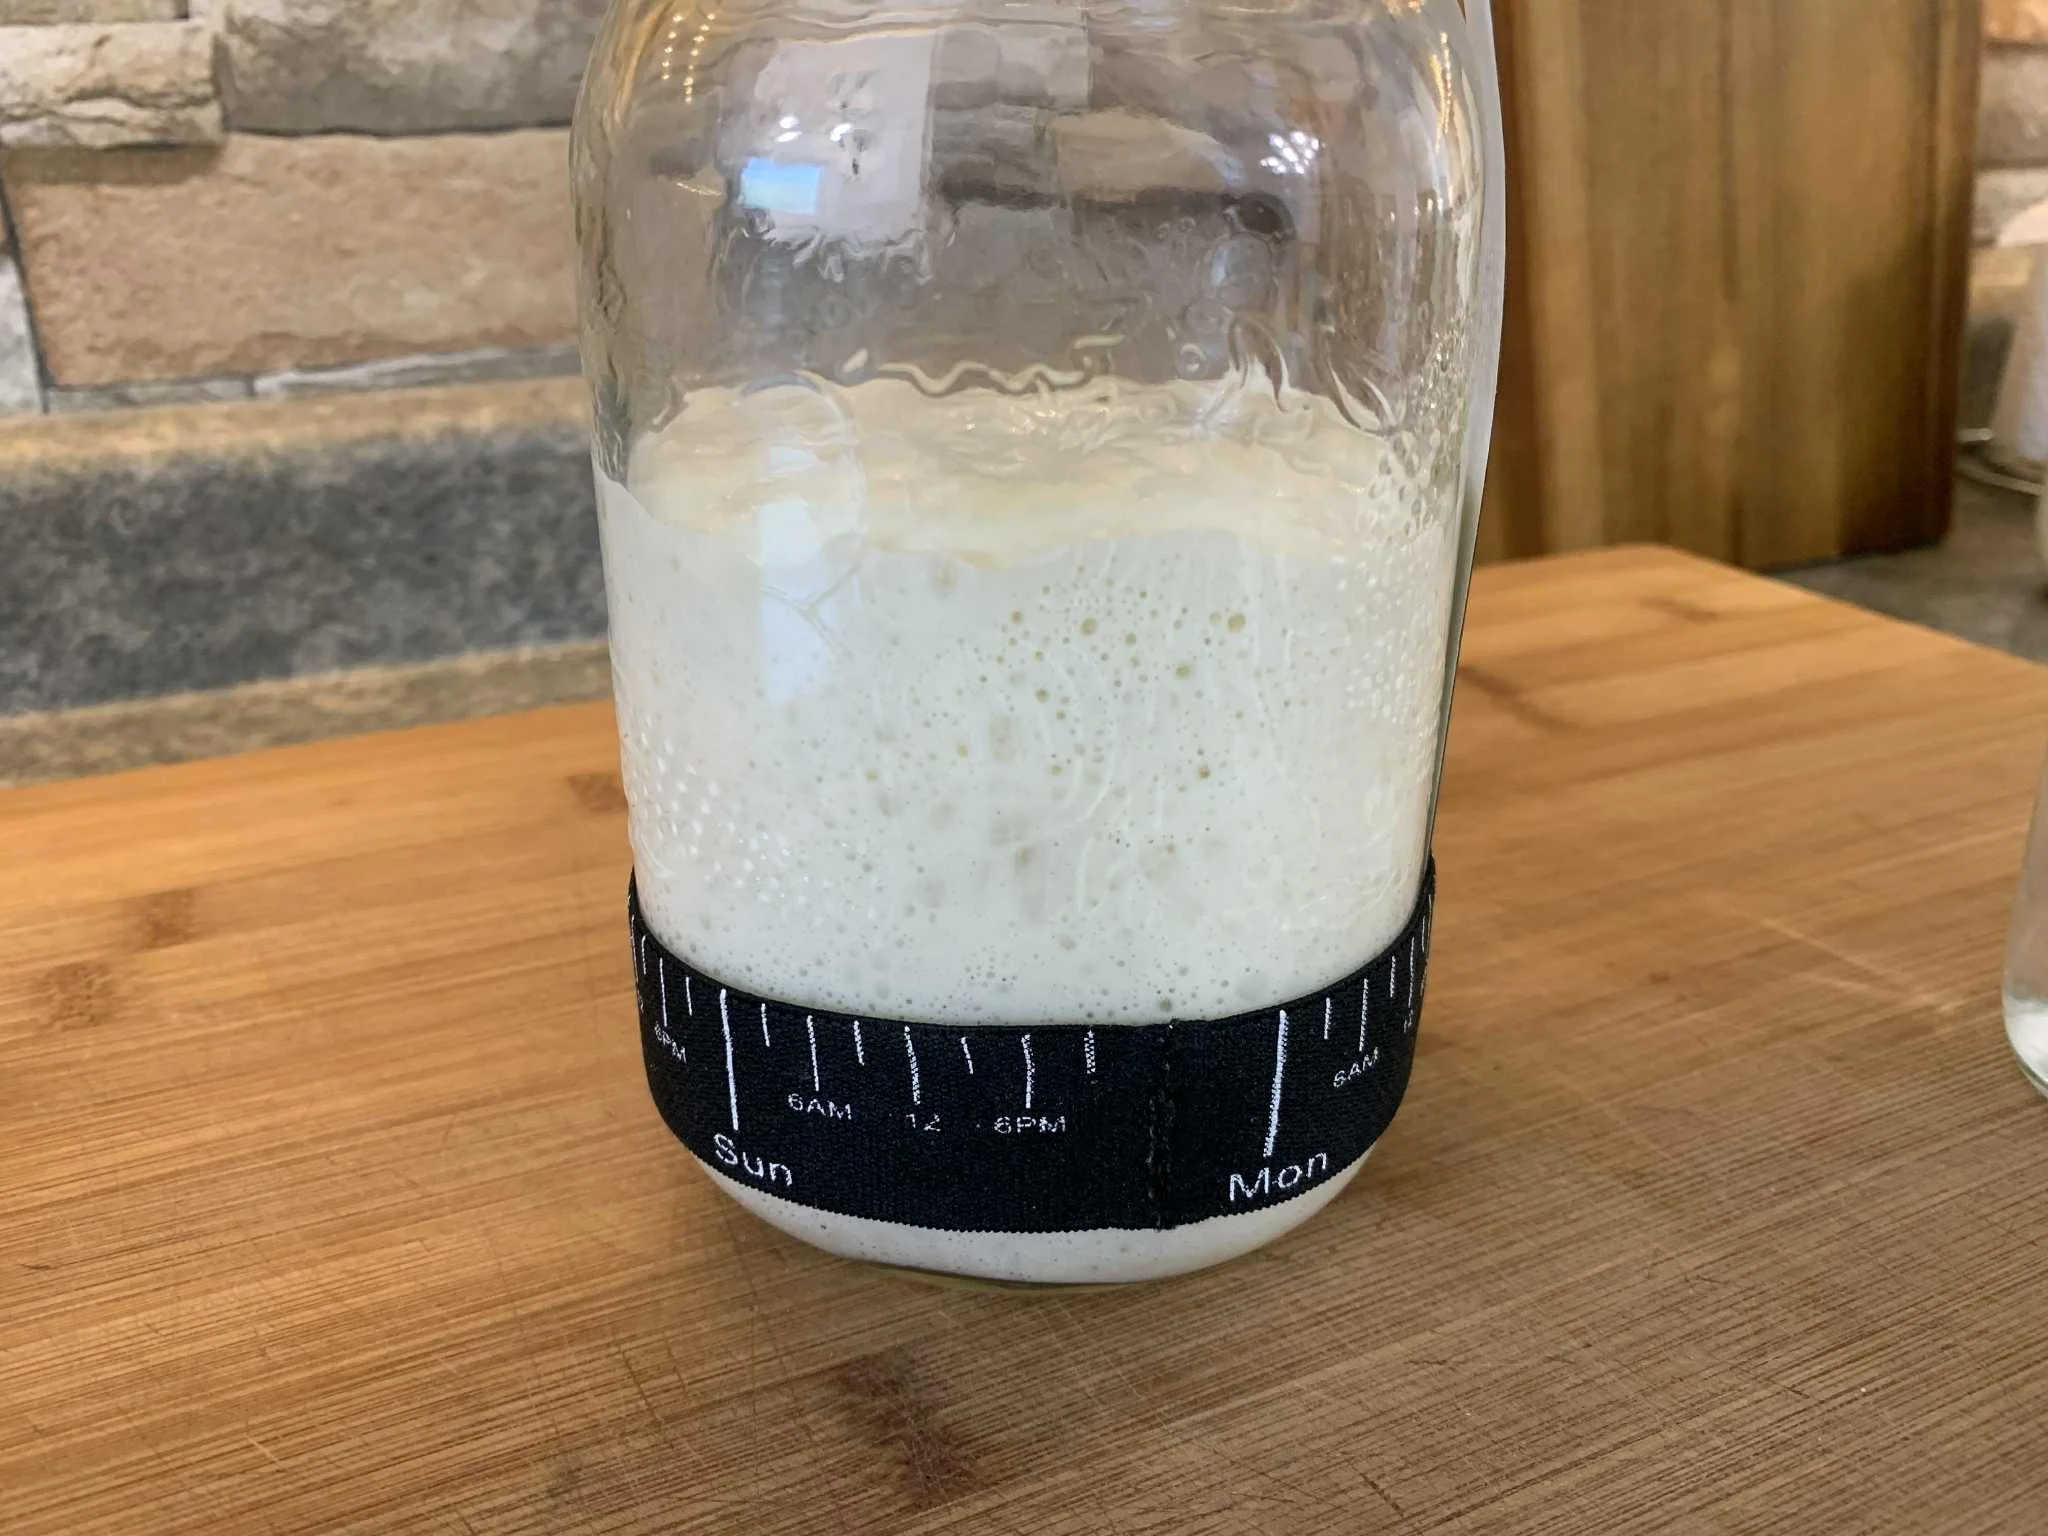
It’s normal for a starter to rise after feeding & then slowly settle back down. Be sure to mark on your jar where the starter is after feeding to see how much it has risen.
Timing of feeding is important. Make sure you are feeding it at approximately the same time everyday during the reactivation period
Start to think of a name for your sourdough starter. I called mine Sandy as she is a San Francisco sourdough starter. My other one is named Ryelene as she's made of rye flour. It’s not necessary but it is fun. Think about it, the starter is alive so why not call it something nice?
Rehydrating a Dehydrated San Francisco Sourdough Starter

Step 1 after 12 hours have elapsed
Equipment:
Glass jar
Cover or lid for the jar
Thermometer
Spatula for stirring
Consider picking up a kit like THIS ONE that has all of these things included

Step 4 day 4 where things really started to get active
Ingredients:
Dehydrated sourdough starter
All purpose flour
Filtered water
Instructions:
In a clean glass jar or bowl add the starter packet, 2 TBSP AP flour & 2 TBSP room temp water. Mix thoroughly. Cover with a cloth, or any breathable material, secure with rubber band & store in a warm place (70-75F) for 12 hours. If the mixture is still too thick add more water in small increments until you reach a thick pancake type batter
After 12 hours: add ¼ cup all purpose flour & up to ¼ cup of water. Start by adding the flour to the jar first & then add water in small increments until the desired consistency is reached. Mix well, cover & store in a warm place.
After 12 hours, add ½ cup all purpose flour & up to ½ cup water. Start by adding the flour to the jar first & then add water in small increments until the desired consistency is reached. Mix well & cover
After 24 hours, discard half of the starter so you have about ½ cup remaining & then feed the starter with ½ cup AP flour & up to ½ cup water. Mix well & cover
Repeat step 4 every 24 hours for 3-7 days until the starter is bubbling & rising to double its starting point after feeding. You want to allow the starter to bubble & rise a few times before testing. Once it does, your starter has been reactivated & is ready to move on to the float test to see if it’s ready to baked into bread.
Starter on step 4 day 6 where she is ready to be tested
Performing the float test:
Take a glass of fresh water
Drop some starter into the water
Observe. If it floats it has passed the test. If it sinks it has failed & need more feedings
One thing to consider with this method, it can give you false results but it is a good starting place. We will talk more about this another day.
Maintaining your sourdough starter:
This is a topic of discussion that doesn’t necessarily have a correct answer, so I will suggest doing whatever you think will work best for you.
In the video I gave these instructions:
Discard the starter down to 50g
Add 50g of AP flour & up to 50g of water, stirring until you have a thick pancake like batter consistency
Cover & place in a warm spot
This is giving you a 1:1:1 ratio which will take approximately 4-6 hours to peak
If you are a frequent baker: keep on the counter & discard & feed every 24 hours
If you are an Infrequent baker: keep in the fridge & discard & feed before baking at least once weekly
The more I learn about sourdough the more I’m not entirely convinced that keeping it in the fridge regularly is a good idea. This comes down to the beneficial bacteria & wild yeasts acting differently at different temperatures. I’ll be covering this in a future post
Since filming the video I’ve changed how I do things with Sandy & have had great results. I’ve started to keep a tiny starter of 45g total & I’m going to suggest you do the same
Discard the starter down to 5g
Add 20g of AP flour & 20g of water, stirring until you have a thick pancake like batter consistency
Cover & place in a warm spot
Repeat every 12-24 hours
This gives a ratio of 1:4:4 which will take approximately 8-12 hours to reach peak.
The higher the ratio the longer it will take to reach peak ideal
The lower the ratio the quicker it will take to reach peak
These times are based on an ambient temperature of 20C or 68F
Until next time, may you find Peace wherever you are!
Watch the video & tutorial HERE

Image of linked YouTube thumbnail